Your cart is empty
Subtotal:$0.00
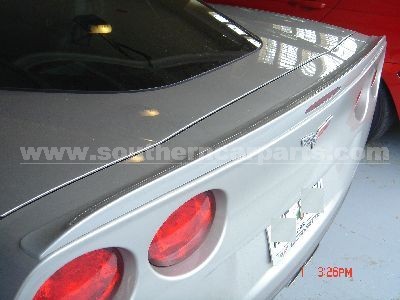
I wrote this up after completing the installation of the GM Corvette Full Length Racing Spoiler. Please feel free to send me any feedback you might have or variations of the installation so that I can post it here to share with others.
So starting from the beginning....
You are going to need
10mm Socket
Drill
7 mm Drill Bit
T15 Torx bit
Scotch Tape
Dremel Tool
1) The first step is to remove all 4 tail lights...Yes, you are going to need to remove all of them, do not even think about only doing two, it will just make your life more complicated in the end. They remove from the rear bumper with a single T15 Torx screw at the top of the light. The whole assembly pulls right out. Be careful when removing the T15 screw that the metal clip that the screw goes through does not fall into your bumper (pain in the neck to retrieve or a trip to the dealership for a new one). You can let the lights hang or disconnect them from the harness (I chose to let mine hang).
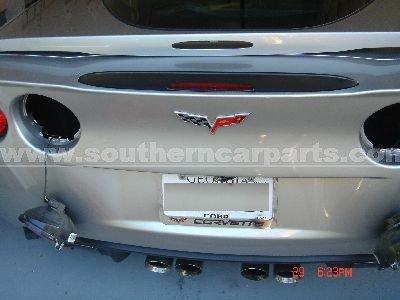
2) Next step is to reach in side the rear bumper, through the tail light holes and remove the stock CHMSL (center high mounted stop lamp). There are 4 10mm nuts that need to be unscrewed. Once complete, take off the stock CHMSL and unplug the wiring harness.
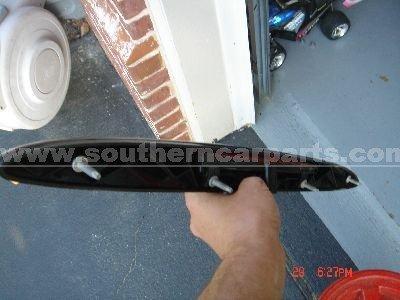
3) Remove all of the studs from the stock CHMSL and install them in the new full length spoiler along with the center light. Also take the included tinnerman clips and install them in the new spoiler.
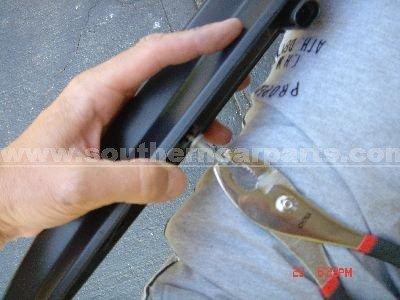
4) This is where things can get dicey, be careful and take your time. Before we continue, I will tell you that I tried to think up other methods to install the Corvette full length spoiler without drilling on the rear fascia and could not come up with a secure solution. I thought about using double sided tape but there is not enough flat surface area under the new spoiler to perform this method correctly. I ended up deciding I would drill and was very pleased with the results, just can never go back to stock (not that I want to anyway).
5) So here we go, using the enclosed paper template and some scotch tape, line up the template on the rear of your car (you need to first cut the template out of the paper). Use the notch for the brake light as your center point and work from the center out. Smooth it out over the rear of the car and tape in place. If on the car correctly, it should line up perfectly with the notch in the center, and the sides and rear of the top of the bumper. If it does not line up perfect, then something is wrong and you need to figure it out before drilling.
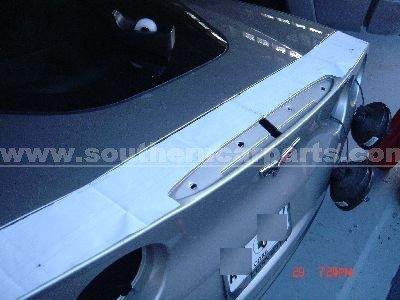
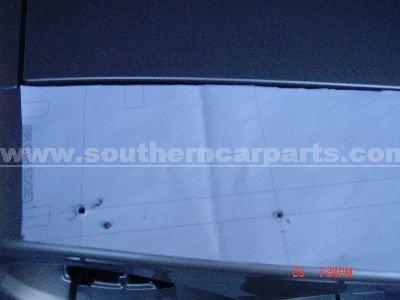
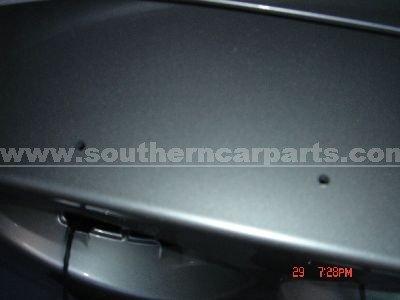
7) Next, (and last of the painful part) is you will need to enlarge the notch in the rear bumper where the stock light went. You just need to shave off the bottom lip with a dremel tool (really easy, but scary). This has to be done to allow the wiring harness to plug into the light.
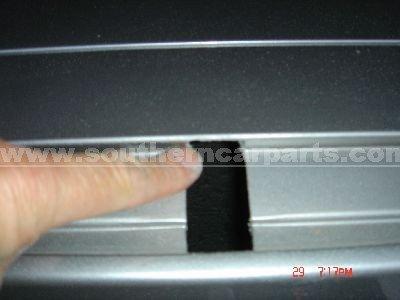
8) Ok, all downhill from here……Pull off the template and install the spoiler. Gently line up the studs with the predrilled holes without scratching your paint. Push it down and make sure you shaved off enough of the notch so that the wiring harness with plug in. If so, screw down the fastening nuts on the each side (two on each side). The center studs just slip through the holes but no nuts are needed.
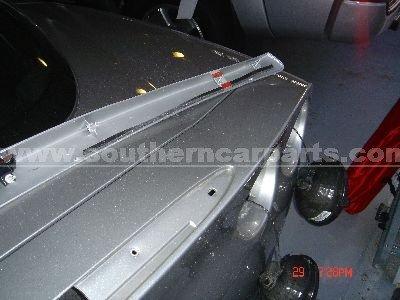
9) The GM directions also call for double sided tape on the ends. I did not use it and did not see any value in using it, up to you, but I omitted this.

© 2007 - 2025 Southern Car Parts. All rights reserved.
Powered by X-Cart